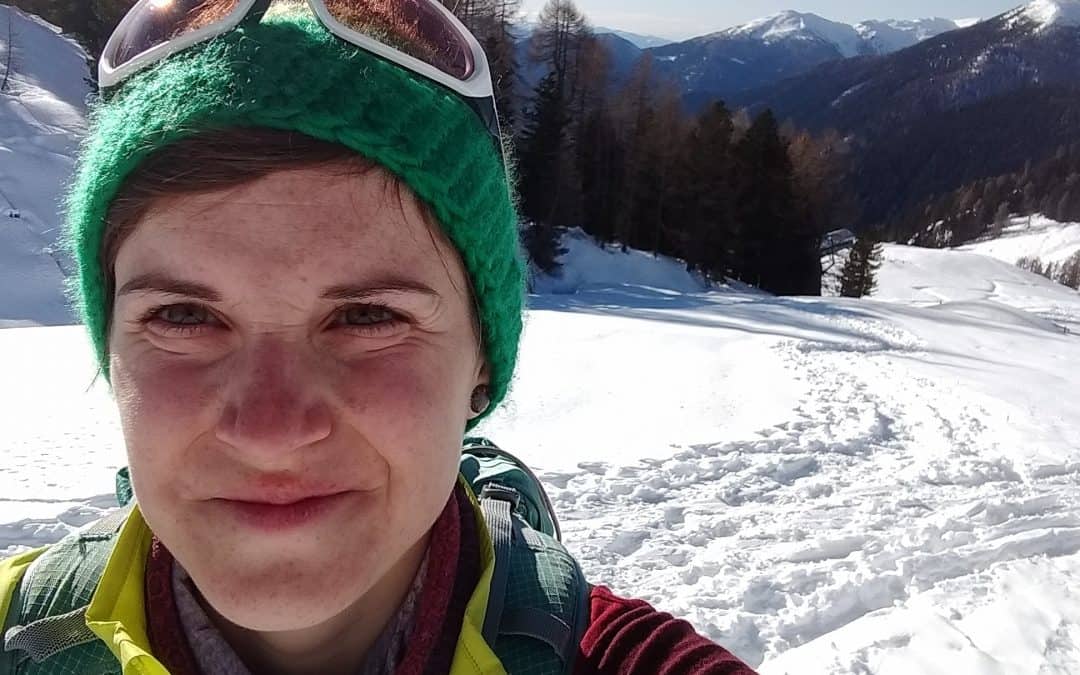
Cecilia Mariani is an International Mountain Leader and Outdoor Instructor. After many years living in the most beautiful but wettest places in the UK, she’s currently living on the edge of the Italian eastern Alps, where it’s always sunny. Working or not, she’s always outside, trekking, climbing or cycling. And on the odd rainy day she’s planning her next adventure. Here she shares her top tips for a Solo multi day trek.
Trekking is definitely one of my favourite things to do. I love the slow pace of trekking, and I believe that it’s the best way to explore a new place. Yeah, without the aid of motorised travel it would only allow you to discover a relatively small area. But you will discover it well. You’ll be sure not to miss any detail along the way, because while your legs are going, your mind is wandering.
The routine that you create for yourself after a couple of days on the trek is also incredible. Everything becomes so natural, everything fits in. And all you need to think about when you wake up in the morning is walk. I love it.
In this short blog I would like to give you some tops tips for your first solo multi day trek, from the planning stage to the finish line. So if you’re ready to leave for your first solo adventure, but are not quite sure where to start then read on.
The Planning – Where to go
Firstly, you have to decide where you want to go. And this is probably the hardest thing. There are so many treks, both in the UK and abroad, that you really wouldn’t know where to start. My advice on this would be to choose a trek that is not too remote. Since you’re not sure how it’s going to go, or if you’ll have exactly the things you need, you want to be able to find support if you need it. So a trek that has easy access to facilities would be ideal. I wouldn’t choose to cross the Gobi desert as my first trek, that is.
The Planning – The Route
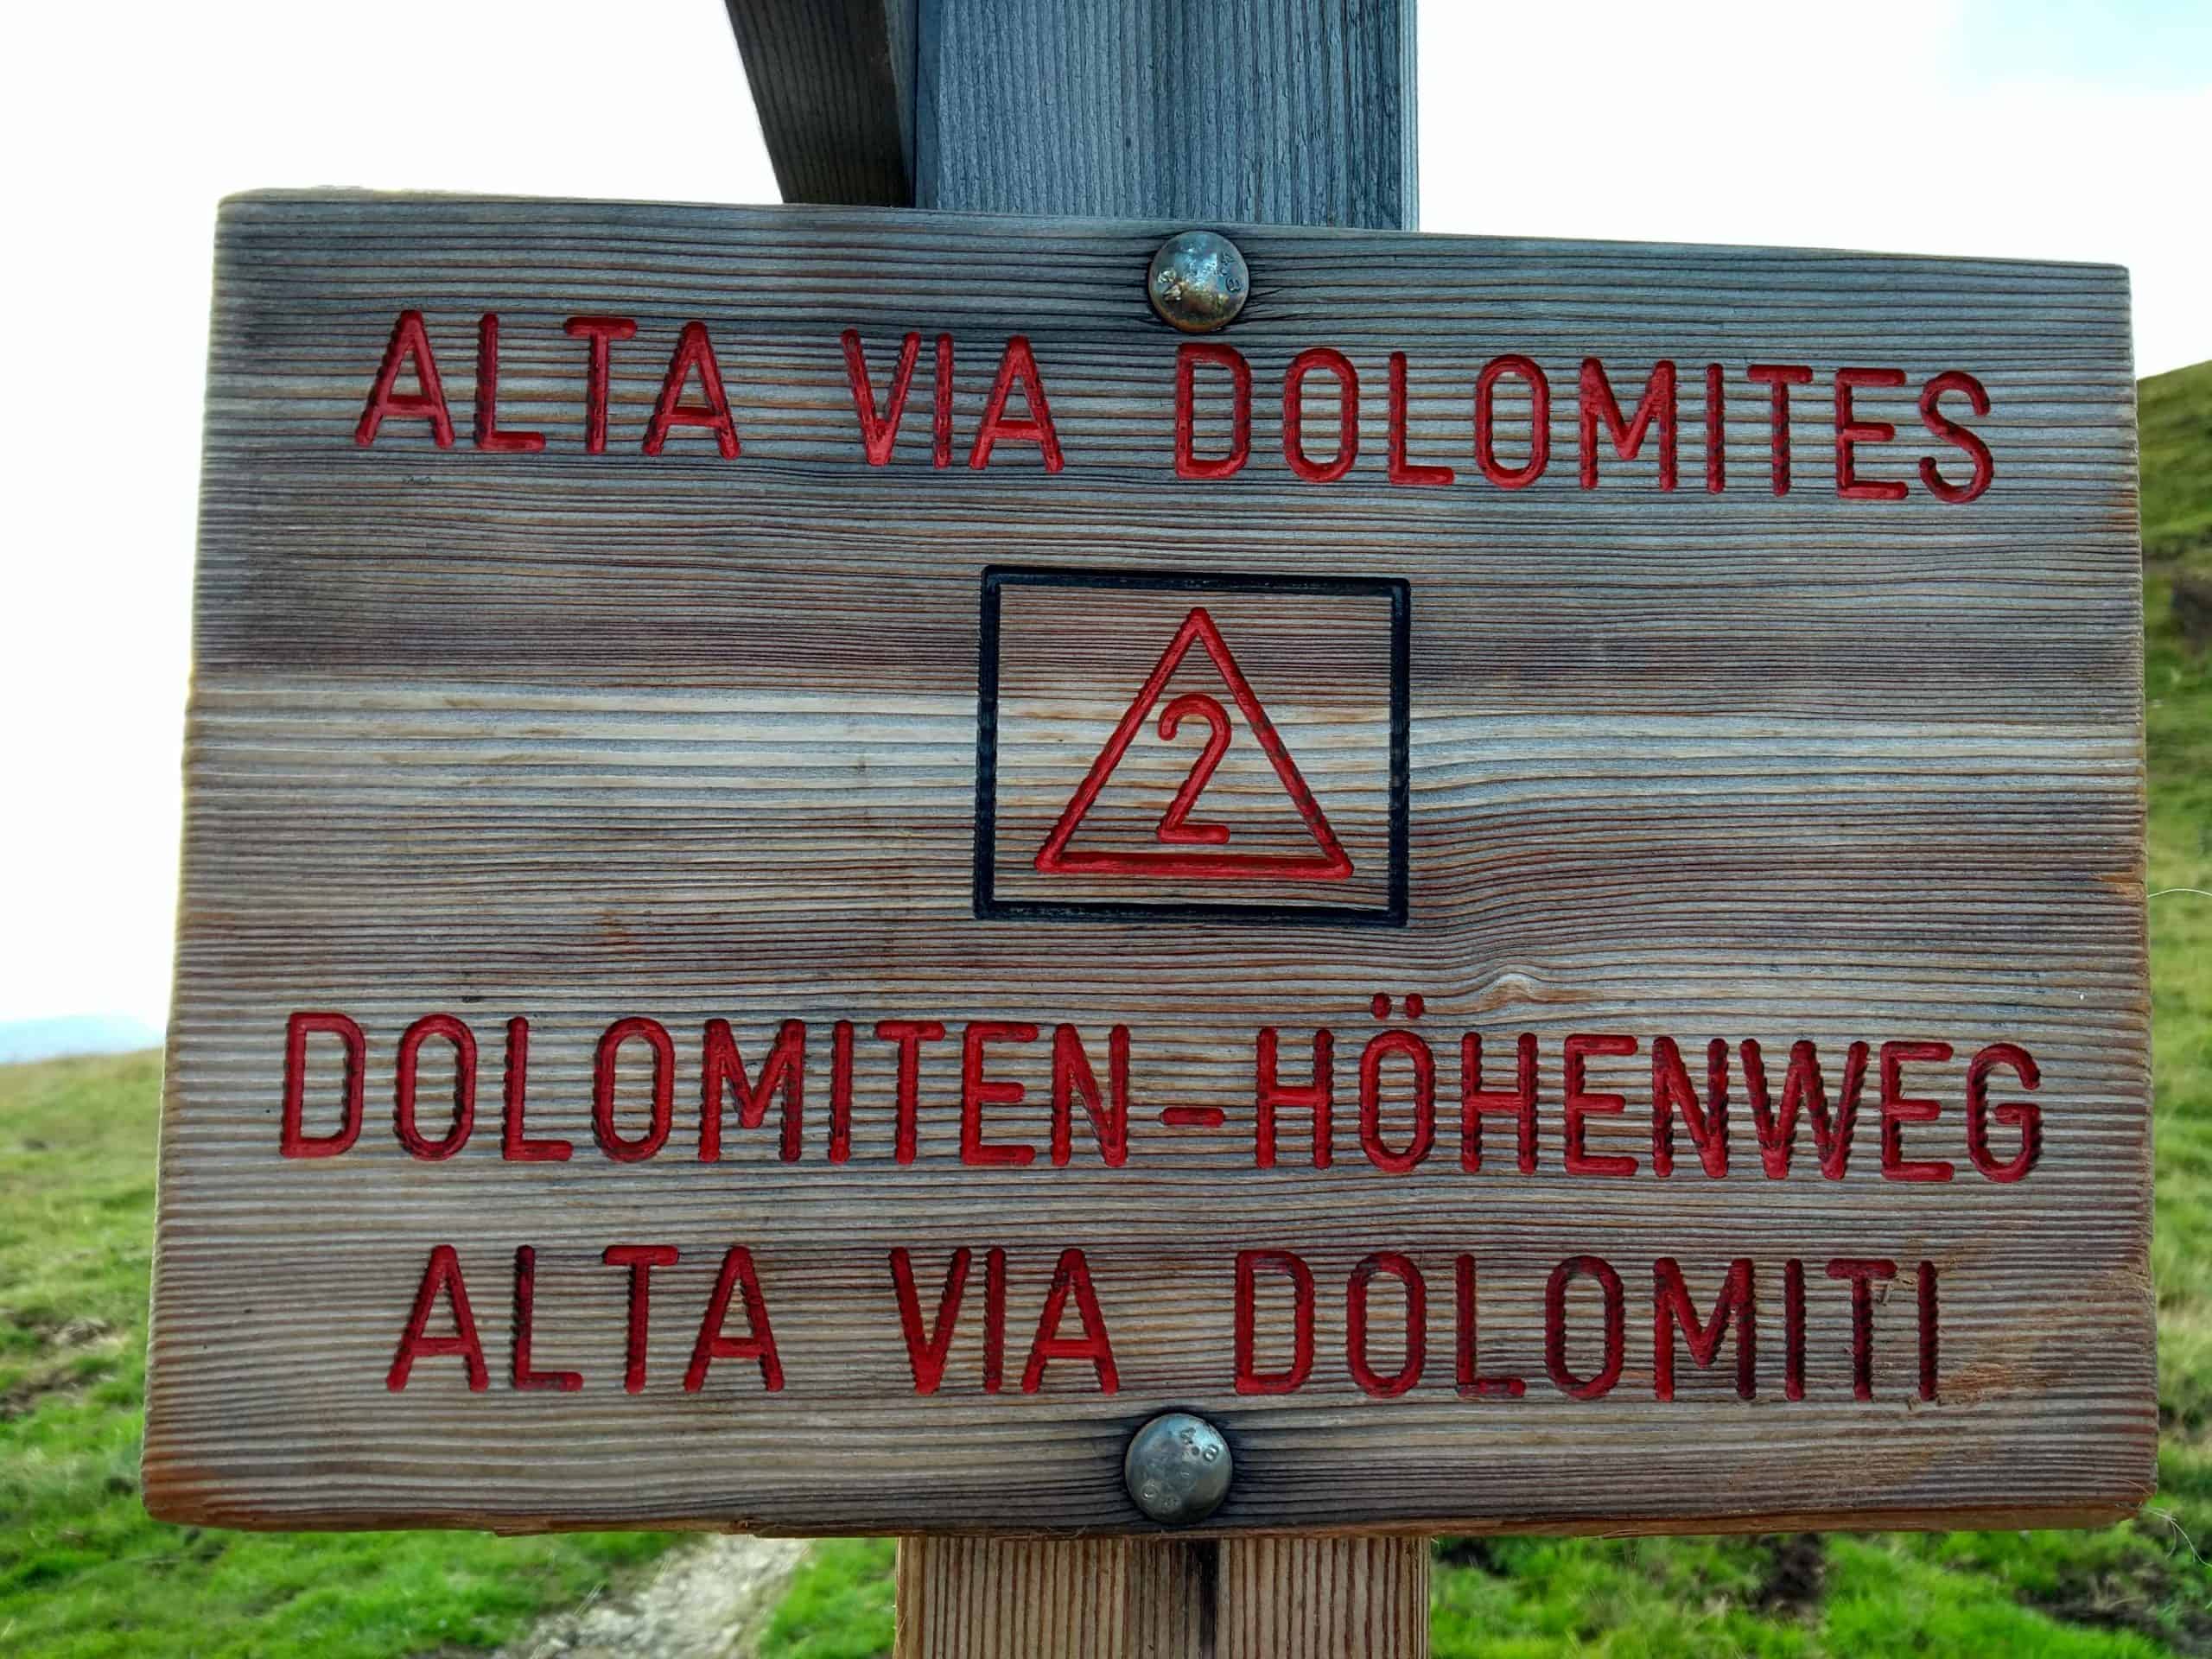
After you’ve decided where to go you need to actually plan your route. Things like how many days it’s going to take, how many kilometres you’ll walk every day, where will you sleep (wild camping, campsites, B&Bs, etc.), will I have to take all the food or will I be able to restock along the way. Things like that. For the more popular treks you’ll easily find guidebooks and plenty of information online, and most of the times someone who’s walked the trek before would have already done these things for you. For the less known treks you might have to do it yourself, or you might want to make your own plan anyway. For this is quite useful to be able to read a map, or get some help from someone who can. With a map you can easily calculate distances, height gain and loss, and plan stops. A very useful tool.
The Planning – What to bring
Once the hard task of planning your route is done, then you’ll have to start thinking about your equipment. A compromise between what’s necessary but it’s not going to break your back. And maybe one luxury item. Here’s a list of what I would normally take.
- Rucksack. Fundamental to take everything you need with you. Depending on how long you’re away for, this could go from a 35-40l to a 65-70l. Make sure it has good support, such as padded straps and a good hip belt. Also make sure if fits you properly and it’s not too long for your back (if you’re 5.2 ft tall then your 6.3 ft tall cousin’s rucksack won’t do).
- Boots. Together with the rucksack, these are the most important piece of equipment. They can be low or high on the ankle, depending on the terrain, although I prefer to have good ankle support (especially if I’m carrying a heavy pack). Depending on where you go, they’ll also need to be waterproof. Make sure you “break them in” before your trek though, there’s nothing worse than finding out your boots don’t fit when you’re miles away from an outdoor shop.
- Socks. To go with your boots. It’s very important that your feet stay dry as much as possible. Your feet, as well as the rest of your body, sweat and this will facilitate the formation of blisters. I always take three pairs of socks with me when I go on a trek, so that I can change them regularly throughout the day and always have a dry pair to use.
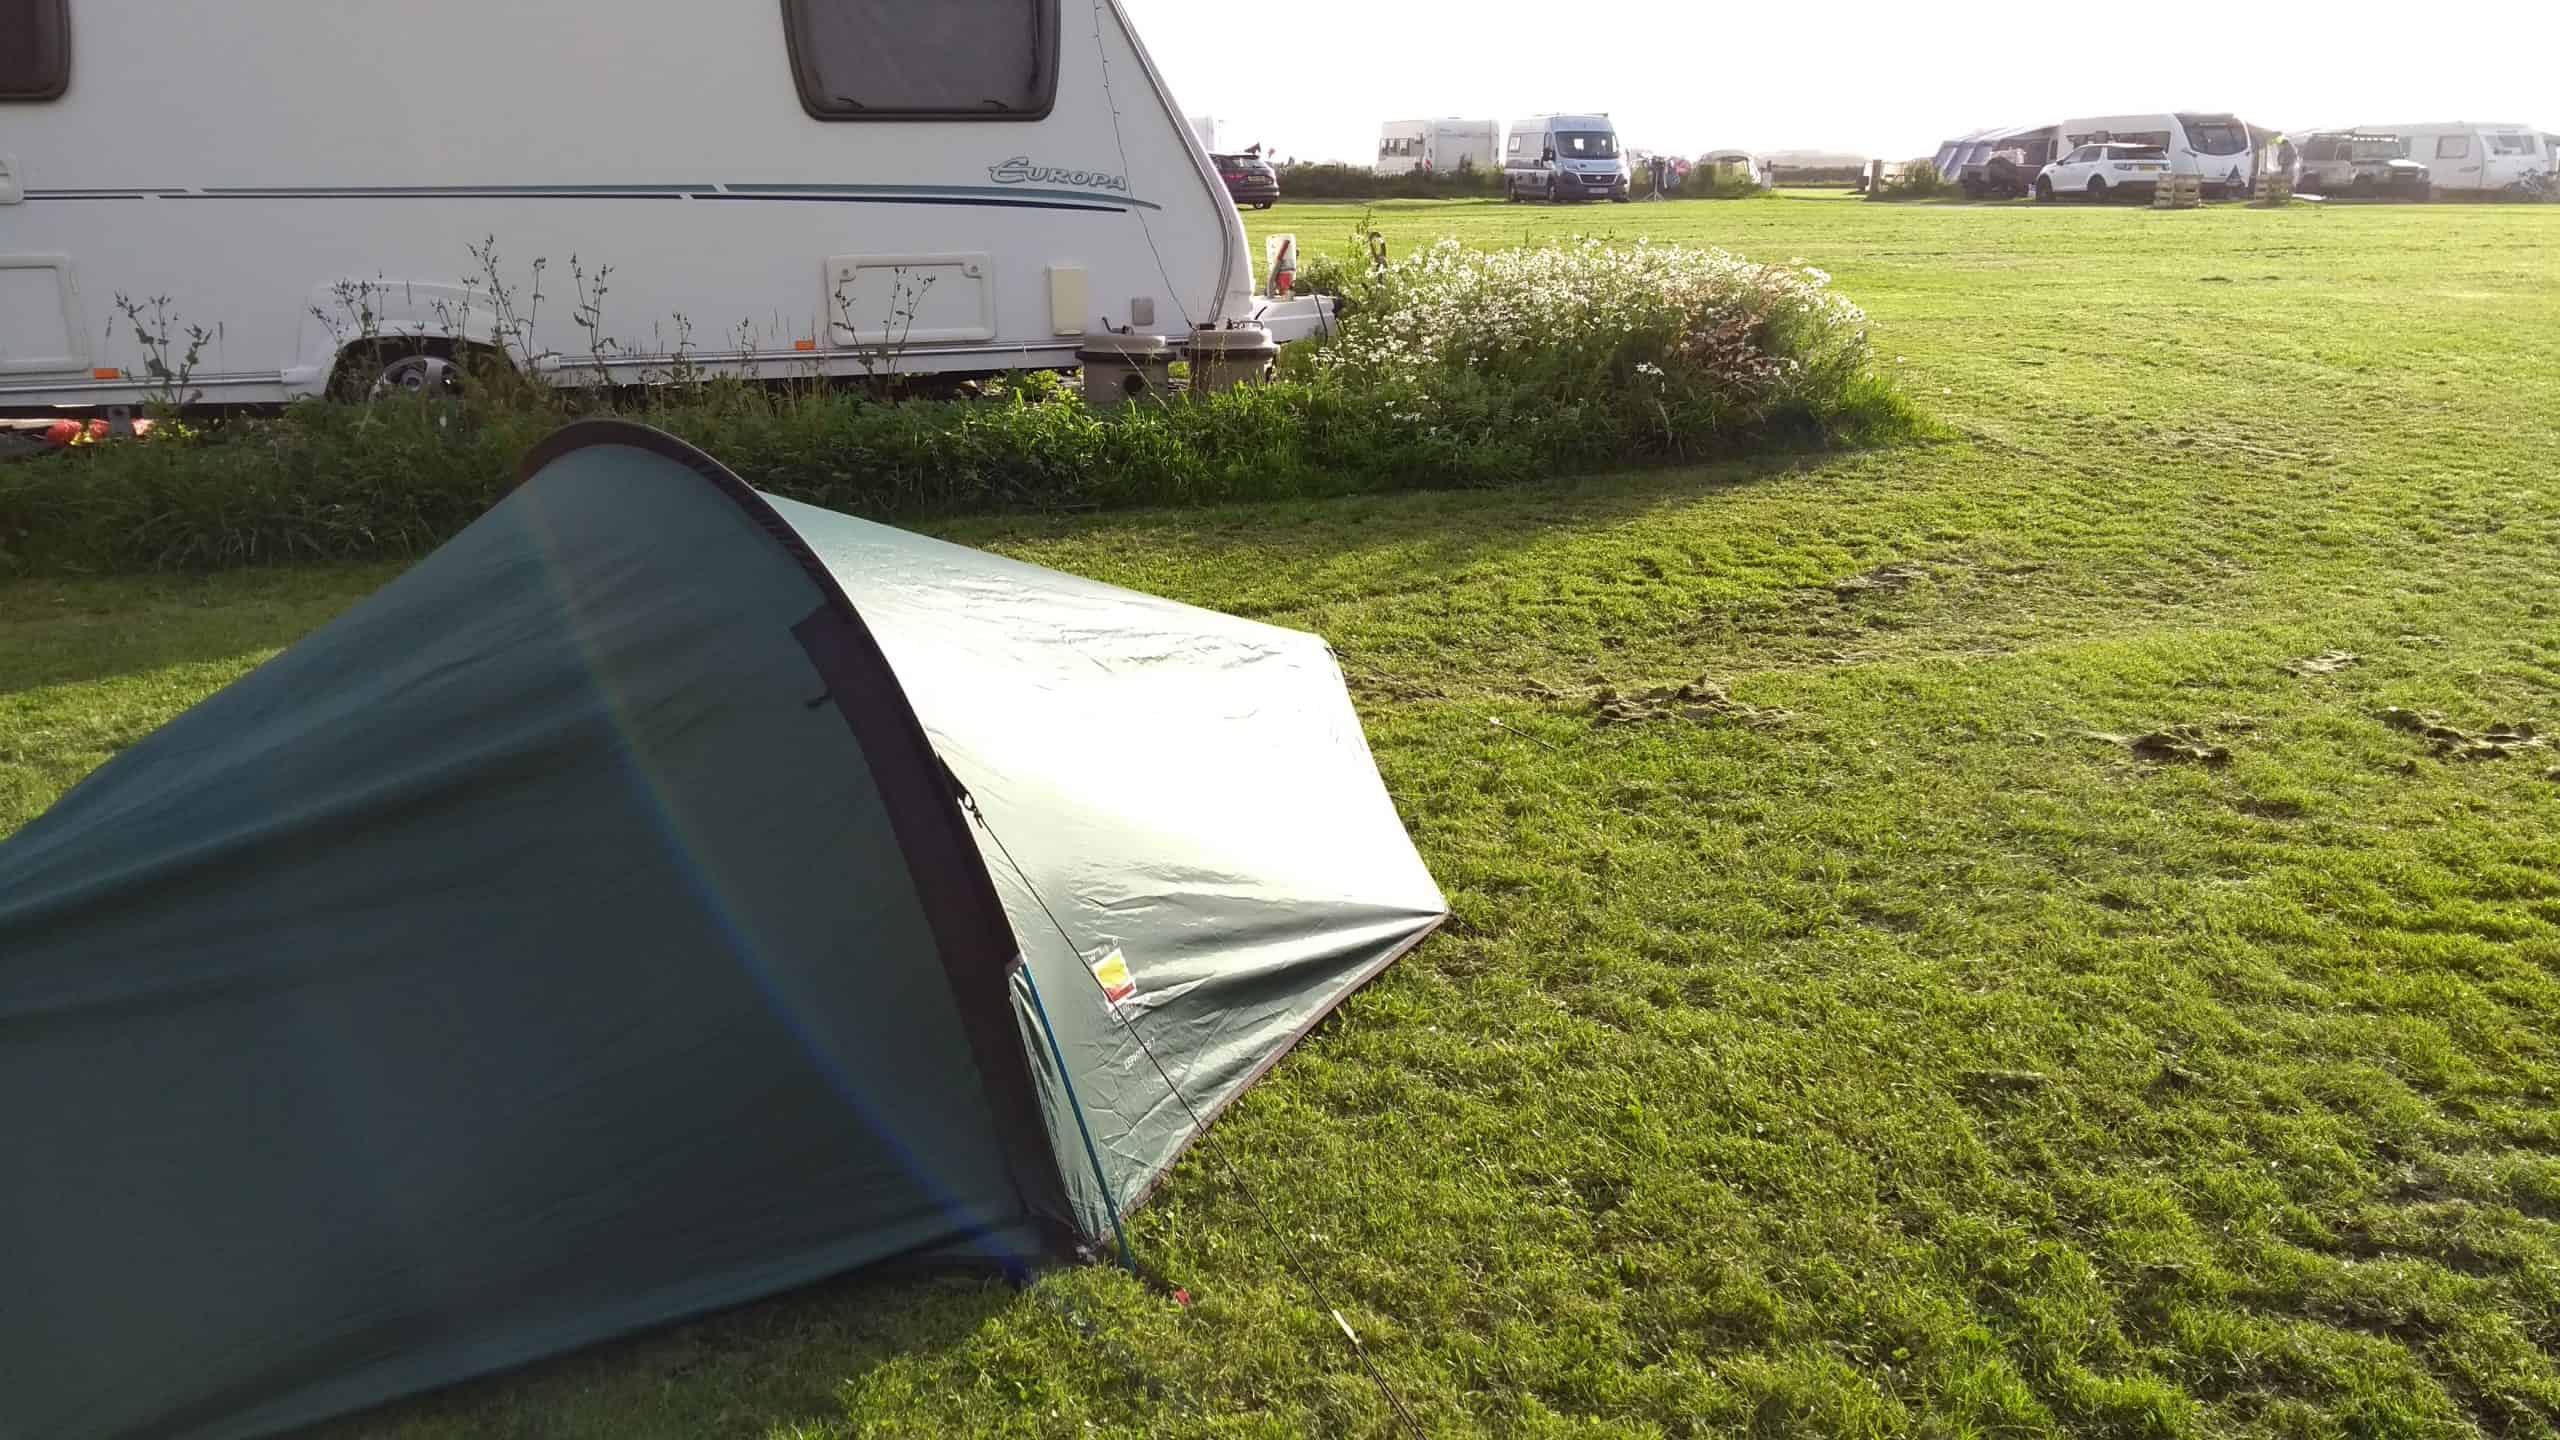
- Tent. This is if you decide to camp. On some treks camping is unavoidable, whereas others have plenty of accommodation options along the way. If you do decide to camp and take a tent then you need to make sure it’s light enough to carry. There’s plenty of options for small, light and cheap-ish one man tents on the market nowadays.
- Sleeping bag and roll mat. These go along with your tent, so no need for them if you stay in B&Bs or hotels. The weight of the sleeping bag will depend on the season. Again, remember you’ll have to carry it. Down sleeping bags tend to have a better warmth to weight ratio than synthetic ones, but don’t perform very well in damp conditions. For the roll mat, you can choose between a self-inflatable one (bulkier) or a blow-up one (smaller and more packable).
- Camping stove, pots and gas. Other camping accessories. They would need to be small and light, and you’ll need to plan your food so that you’ll have minimum cooking and minimum washing up. Boil in a bag is good, or dehydrated food.
- Water bottle. I normally take a 1l bottle, or sometimes a bladder. It’s important though to take a filter or sterilizing tablets, so that you can collect water on the way.
- Clothes. Only the indispensable stuff. I would normally have my waterproofs and a warm jacket at the bottom of my bag. Then I would wear a pair of walking trousers (zip-off ones are a good option), a t-shirt and fleece or thin jacket. As extras I would bring one t-shirt, a spare thin jacket and maybe another pair of trousers, depending on the length of the trek, plus a set of base layers to sleep in and emergencies. If you’re away for a long time then you’ll have to hand wash your clothes, so quick drying fabrics are ideal.
- Toiletries. A toothbrush, toothpaste, maybe moisturizer. That’s it. Forget about the deodorant, you’ll smell anyway, or any other fancy stuff. But remember sunscreen if you go to a sunny place, and you can take some hand sanitizer to keep on top of your hand hygiene. A small towel is also handy if you find a river and want to go for a wash (without soap!).
- First aid kit. A small one will do. Just take any personal medications you may have, soma bandages and other bits and pieces to deal with minor injuries.
- Head torch. Fundamental for the late night toilet stop or the early morning start. Bring spare batteries too, or if it’s a rechargeable one make sure you have a portable power bank.
- Miscellaneous. Things like a woolly hat and gloves for cold weather, or a sun hat for sunny weather. Also bug spray, especially if you go to Scotland!
- Luxury item. Singular, because you’re only allowed one! So think carefully about what you want to take with you (I suggest a book).
- Optional. Mobile phone. Leave it behind if you want to get away from everything, but make sure you have a way to contact someone in case of an emergency.
And these are just the essential things! But I assure you it will all fit in your bag…. maybe. Once you’ll have done a few treks this will become much easier, you’ll know what you do and don’t need, so you’ll avoid to take unnecessary things or forget something really important.
It’s time to set off – The Walking
Now that you’ve done all the planning, all you have left to do is enjoy your trek.
The moment between leaving your house and actually starting to walk can be quite challenging. Will I be able to walk the distance I planned? What if I don’t find a suitable camping spot? Will I find water on the way? My advice is to be flexible. It’s always scarier beforehand, when you don’t know what you’ll find, but as you walk you’ll be able to figure things out, every time. Bring a map so you can spot where the next town is, or if there are any camping facilities, or if there’s a stream to collect water from around the next bend.
After the first few kilometres, as you start to know the area, the path and the terrain, things will get easier and more familiar. After the first day or two you’ll get used to walking alone, you’ll know exactly where everything is in your bag and you’ll start finding your own routine. After three days your legs will stop aching and you’ll get used to carrying a heavy bag. And all too soon, just as you were starting to find it comfortable, you’ll reach the end line and you’ll go back to your normal life.
But you’ll be left with a beautiful experience, some great memories, and the knowledge that yeah, you can do it! You know how to now. What might have seemed the biggest challenge of your life now might even become your regular summer holiday. You’ll love it, so get walking!
Please do consider supporting the Love Her Wild community by becoming a Patreon! Not only will you be helping women in accessing the outdoors, but there are great benefits including giveaways and access to an exclusive newsletter.
We are blessed to have so many women in the community happy to share their advice and stories with us. If you’d like to contribute a blog, please do get in touch via our ‘contact us’ page!